Installing a salt chlorinator in a pool is a simpler process than it sounds. Although many users think that it requires a complex reform, the reality is that it is only necessary to integrate it into the existing Pool filtration system, just before the return of the water to the pool.
In this article we explain how to do it with a basic salt chlorinator installation scheme and the key points you should take into account to do it correctly and without complications.
The Salt Chlorinator is part of the water filtration and treatment system. Its location is essential for the electrolysis principle to work properly.
The most common scheme is as follows:
Water intake → Skimmer → Pump → Filter → Filter → Salt chlorinator cell → Return to pool.
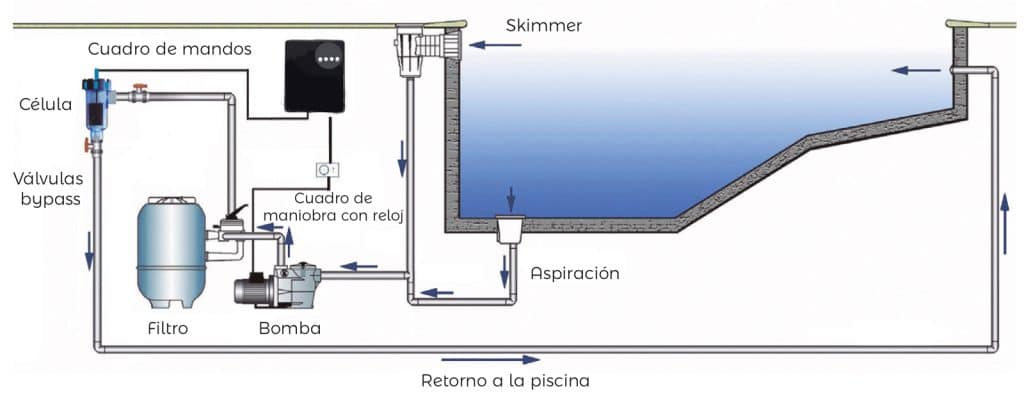
This order ensures that the water reaches the cell clean, free of particles, and that the chlorine generated is evenly distributed throughout the pool.
The cell must be placed in line with the water return, and in most installations a bypass (a valved bypass) is used to isolate it if it is to be disassembled or cleaned without stopping the entire filtration.
This design facilitates maintenance and prevents debris from passing through the cell. In the bypass, a valve regulates the water flow through the chlorinator, ensuring an adequate flow for chlorine production.
The installation must follow the natural path of the hydraulic circuit. It is a relatively simple process, but it is important to follow the steps below to ensure proper operation:
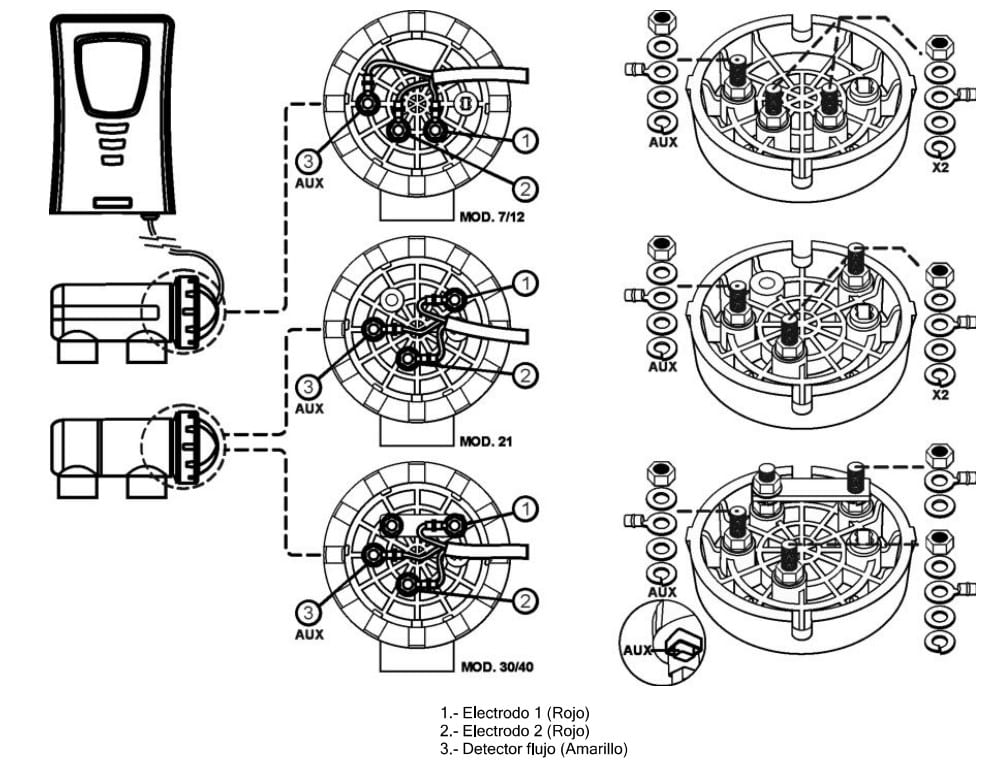
Once installed, the system requires minimal maintenance:
For more information, you can read our guide on salt chlorinator pool maintenance.
Installing a Salt Chlorinator does not require great technical knowledge. Following the Salt Chlorinator installation scheme that we have explained and with a minimum maintenance, you will get an efficient, clean and fully automated disinfection system.
If you are looking for an equipment adapted to the needs of your pool, consult our selection of salt chlorinators for swimming pools.
And, if you know how to choose the most suitable model according to the size of your pool, check out how to choose the right salt chlorinator or use our salt chlorinator size calculator.


PoolComet choice
 Select options
This product has multiple variants. The options may be chosen on the product page
Select options
This product has multiple variants. The options may be chosen on the product page
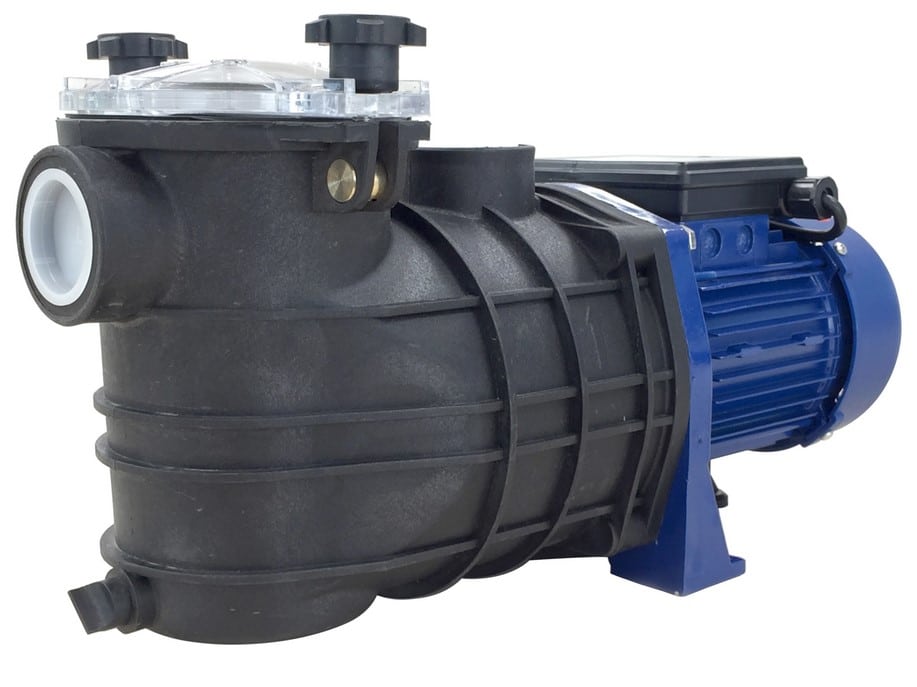
If your pool pump hums but won't start, do you know why? This maintenance article reveals the most common causes: condenser, turbine or bearings. Learn how to diagnose the fault and decide when it is best to repair or replace your pump to ensure optimal performance.
Discover the causes and solutions for milky or whitish water in your pool. Learn how to keep your pool clear and healthy.
What steps should I take to keep my salt chlorinator in perfect condition? Find out with this short professional guide.
Seleccionar categoria